

How to Make a Roof Insurance Claim After Storm Damage: Step-by-Step
Step 1: Make the Property Safe

Before any paperwork, the priority is stopping things from getting worse.
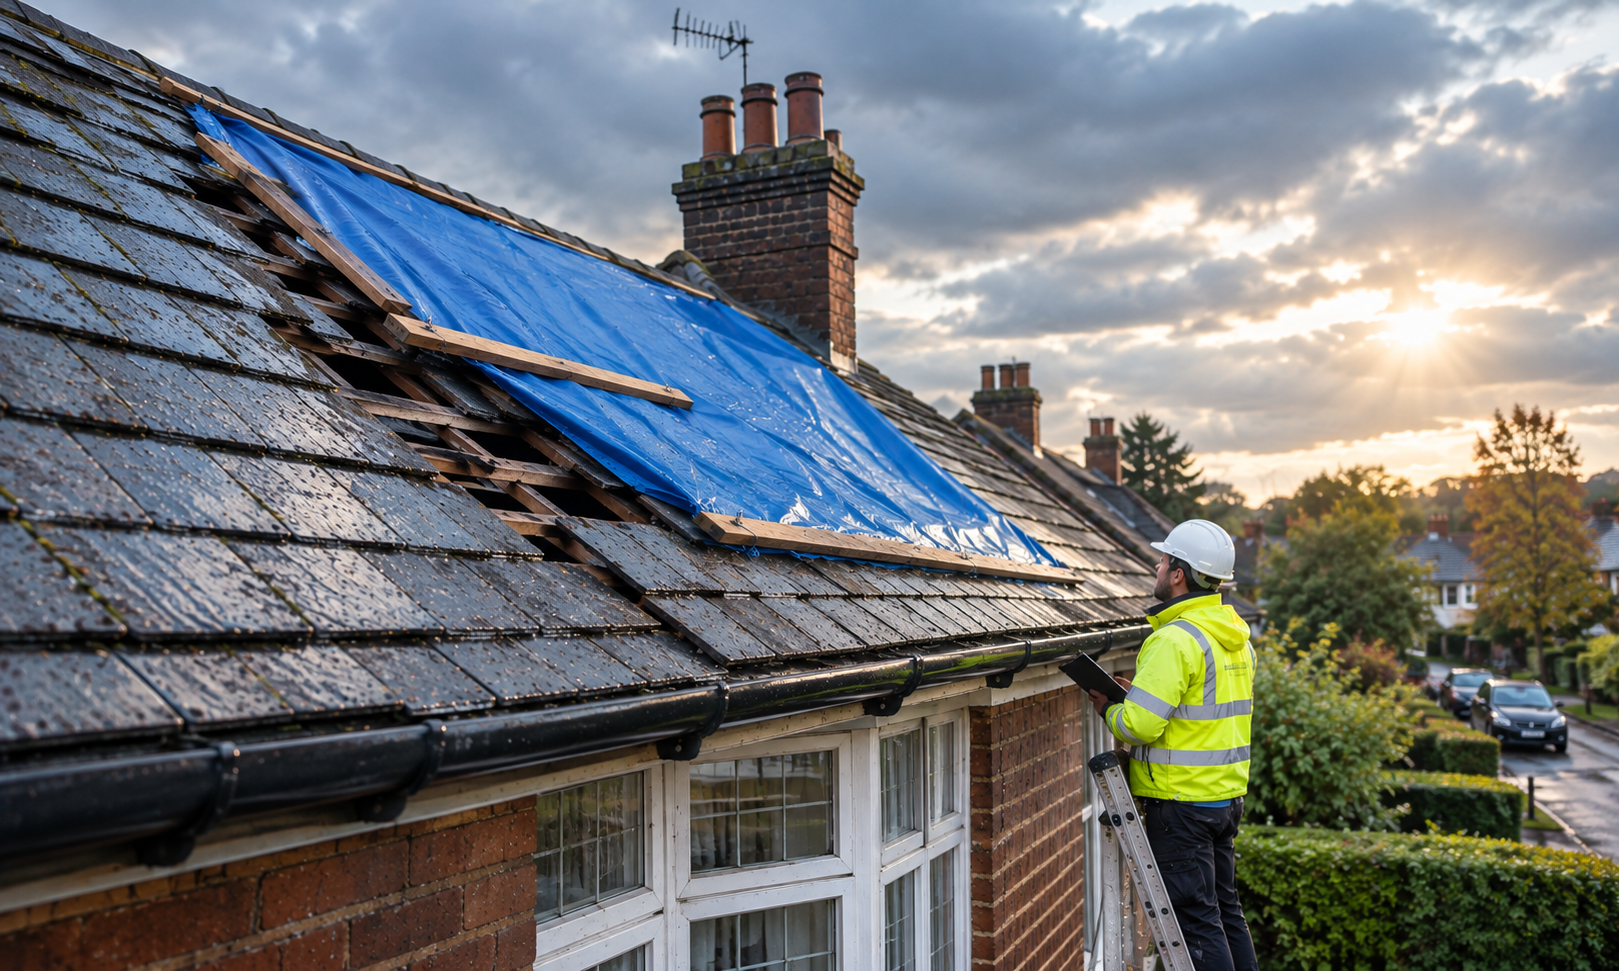
That means reasonable emergency measures: moving belongings clear of a leak, placing containers under drips, and covering exposed contents rather than leaving them under running water. If a section of roof is open to the weather, emergency roof tarping can stop internal damage from spreading while you deal with the rest of an emergency roof repair insurance claim.
Permanent repair is different, and a temporary roof repair after a storm doesn’t automatically get reimbursed. Your policy may require the insurer to see the damage or approve the scope of work before permanent repairs go ahead.
Don’t climb onto a roof after a storm to inspect it yourself. If it looks unsafe, or you can’t see the damage from the ground, call an emergency roofer and let a professional make that call.
Step 2: Document Everything

Once the property’s protected, turn your attention to evidence.
Photograph the damage from several angles: wide shots showing the area in context, close-ups of individual broken tiles, flashing or guttering, and any internal water damage. A short video walkthrough can catch things stills miss.
Useful documentation includes:
- Photographs and video, taken as soon as it’s safely possible
- The date you noticed the damage and the suspected storm date
- Brief notes on what happened
- Any earlier photos or maintenance records showing the roof’s prior condition
- Receipts for emergency work, plus copies of contractor and insurer correspondence
Photographing storm roof damage from ground level, using a zoom rather than climbing up, is safer and can still give the insurer useful evidence for an initial look.
Step 3: Obtain a Professional Roof Inspection & Written Report
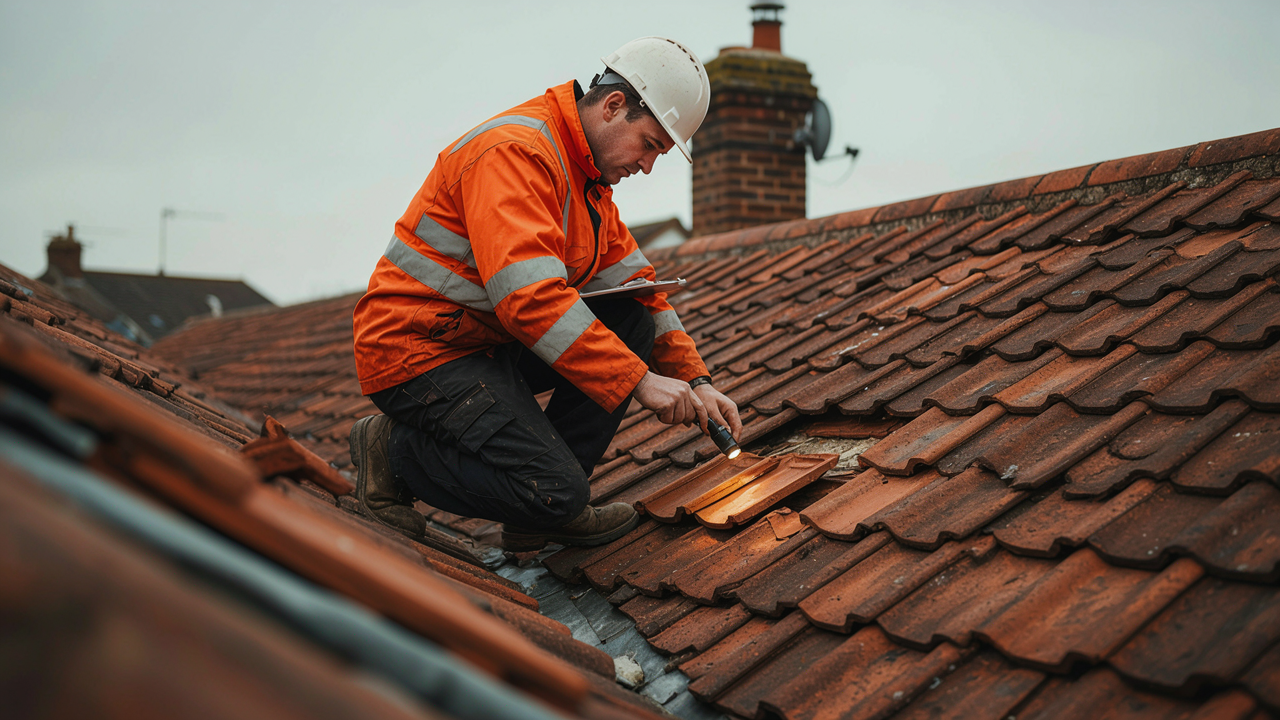
With the damage recorded, a professional inspection can help confirm what needs attention: the visible extent of the damage, where it’s located, and whether there’s older deterioration mixed in alongside the storm damage. A visual inspection can’t confirm anything hidden beneath the roof covering without further investigation.
A written report supports your claim. It doesn’t determine whether your policy covers the damage, or guarantee the insurer will accept it. It’s a documented account of the roof’s condition that sits alongside your own evidence.
What should a roof inspection report include?
A useful roof inspection report for insurance claim purposes covers the areas inspected, the visible damage found, the likely cause where that can reasonably be established, signs of pre-existing wear, photographs and recommended repair work, while being honest about what couldn’t be confirmed from a visual check.
A roofer such as Maple Roofing can carry out that inspection and provide a written assessment.
Step 4: Notify Your Insurer

So now you have the evidence and the report, it’s time to contact the insurer. Have your policy number, the date of the incident, a description of the damage, and your photographs ready before you call.
Mention any emergency measures taken or a contractor’s report if you’ve arranged one. Check your own policy for its notification requirements and follow the process for claiming roof insurance.
Requirements for a roof storm damage insurance claim UK homeowners make vary between insurers, so it’s worth reading yours properly rather than assuming.
Step 5: Get Repair Quotes
Once the damage’s been assessed, the next question is what the repair will actually involve.
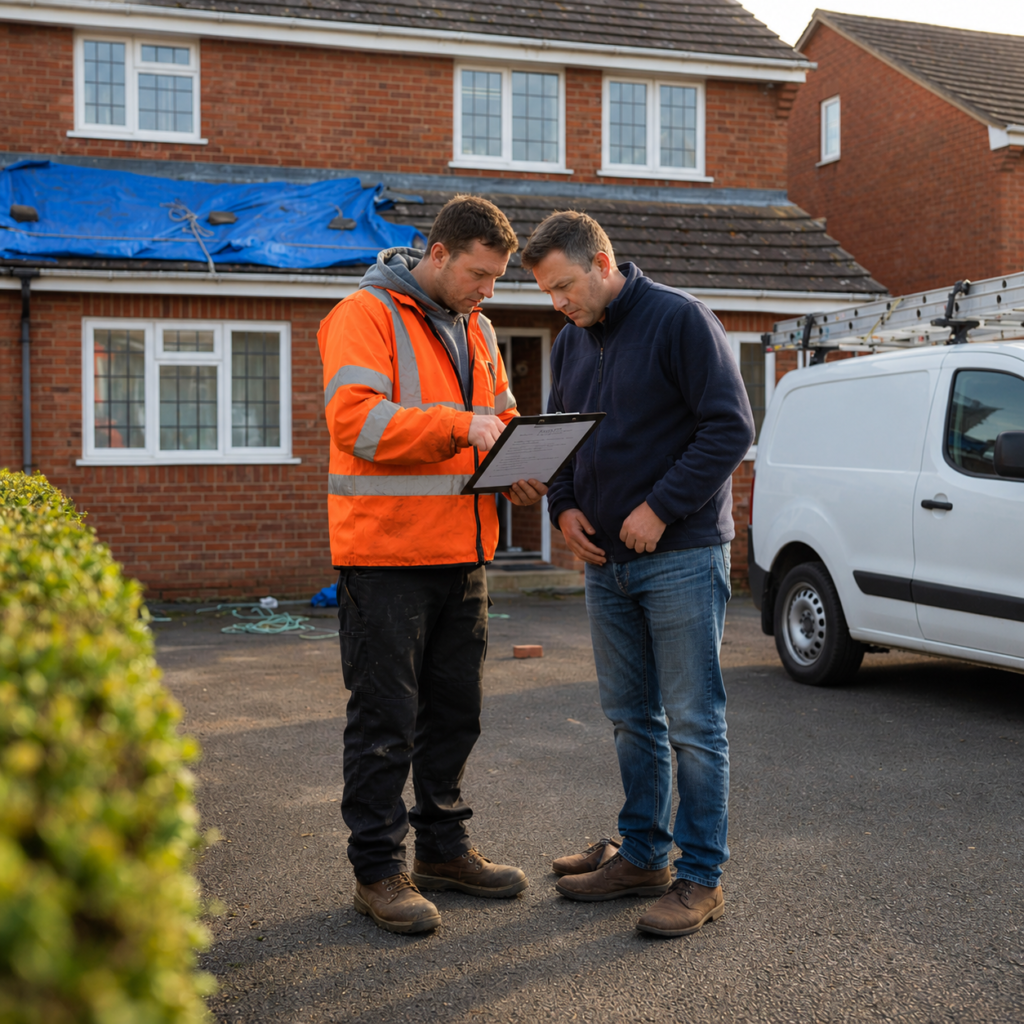
A proper quote should set out materials, labour, and any access equipment such as scaffolding, rather than a single lump figure with no breakdown. An itemised roof repair quote for insurance purposes gives the insurer a clearer picture than a vague estimate.
Remember too that most policies carry an excess, which is the amount you contribute towards an accepted claim, so check your policy to see how that affects your costs.
The same applies to a home insurance excess roof claim, so check your policy before committing to repair costs.
Step 6: Prepare for a Loss Adjuster or Surveyor Visit
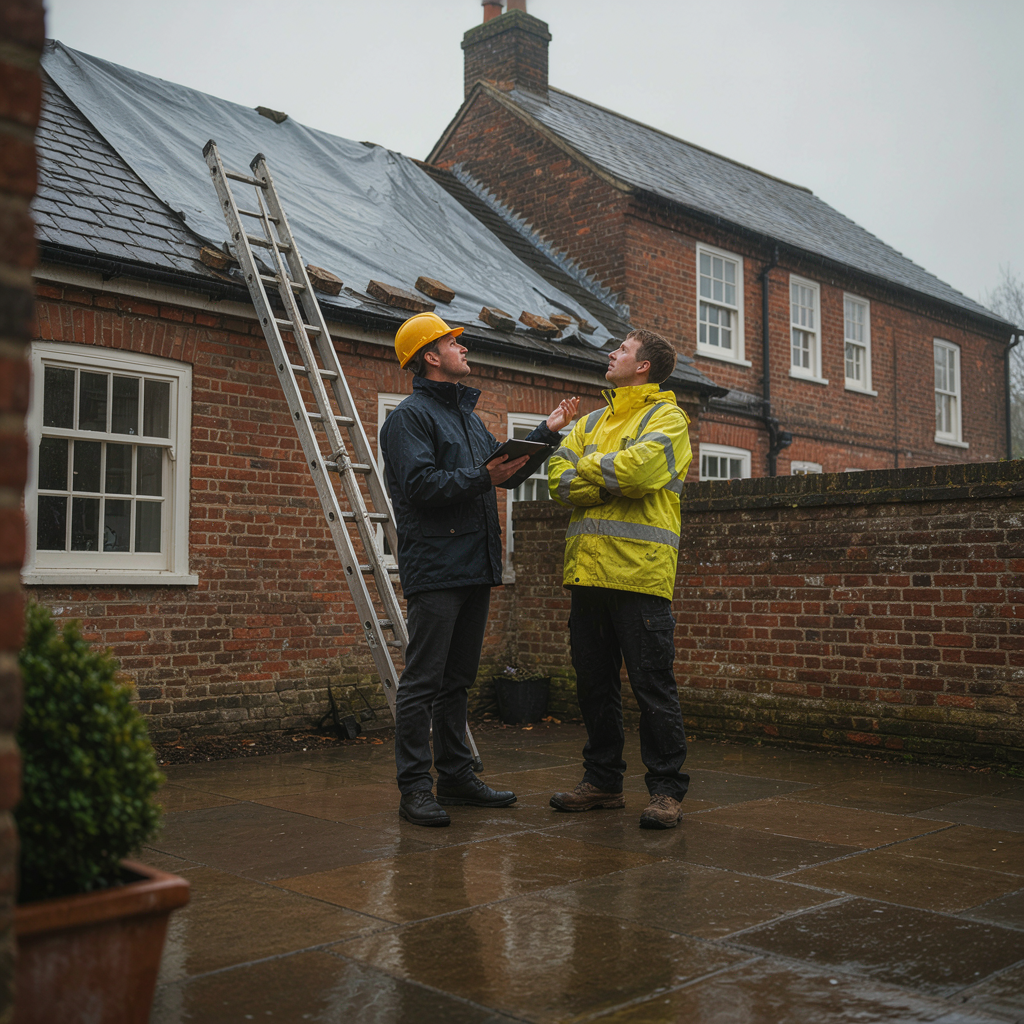
Depending on the insurer and the circumstances, a storm damage roof repair claim may involve a visit from a loss adjuster or the insurer’s own surveyor, who’ll look at the roof’s condition, the likely cause and extent of the damage, and your paperwork.
If an insurance loss adjuster visits your roof, have your photographs, inspection report and quotation ready. Maple Roofing can set out technical information about the physical damage, but the insurer and its appointed representative decide the outcome of the claim.
Step 7: Complete the Repairs and Keep Your Records
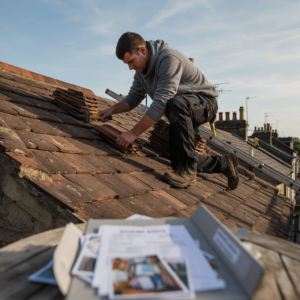
Once the insurer’s process allows permanent repairs to proceed, work can go ahead.
Keep the full paper trail afterwards: the final invoice, photographs, the inspection report, the repair quotation, receipts, correspondence, and any workmanship guarantees, until the claim is formally closed.
Common Issues That Can Complicate a Roof Insurance Claim
None of the following automatically stops a claim, but each can slow things down.
Delayed notification, thin evidence, and uncertainty about exactly when the damage occurred are the most common. A missing tile after a windy night isn’t automatic proof the storm caused every problem on that roof, and older deterioration can make the cause harder to pin down.
Other complications include permanent repairs carried out before the insurer’s assessment where that was needed, missing paperwork, and not following the insurer’s own process, whether you’re dealing with a roof damage claim in Surrey, a roof damage claim in Kingston, or anywhere else.
Frequently Asked Questions
How long do I have to claim after storm damage?
There is no single deadline for the entire UK so let your insurer know as soon as is reasonably possible. A simple claim can become a complicated one due to delays. See your policy for specific time limits.
Do I need a professional report on my roof to file a claim?
Not every insurer insists on one, but a professional inspection and written report gives you documented evidence of the damage and its likely cause, which is useful even where it isn’t formally required.
What happens if my insurer rejects my roof damage claim?
Ask for the reason in writing and review your policy wording against it. Most insurers have a formal review or complaints process, and the Financial Ombudsman Service handles unresolved disputes. That’s a process to pursue yourself, or with independent advice; it sits outside what a roofing contractor can do for you.
Who pays for temporary roof repairs after a storm?
This depends on the policy and circumstances. Many policies expect homeowners to take reasonable steps to prevent further damage, such as emergency tarping, and may reimburse that cost as part of the claim. Keep every receipt.
Can I repair my roof before the insurer inspects it?
Emergency measures are usually fine and often expected. Substantial permanent repairs are different: where your policy needs the insurer’s approval first, completing them beforehand can complicate things. Check with your insurer first where possible.
Bringing It Together
The sequence holds regardless of how bad the damage looks: make safe, document, inspect, notify, quote, assess, repair, and keep records until the claim closes. That’s the practical shape of how to make a roof insurance claim after storm damage.
None of this guarantees an outcome. Organised evidence and a professional report simply give your insurer a clearer picture against which to assess the damage.
If your roof’s been damaged in Kingston, Surbiton, Twickenham or elsewhere across Surrey and South West London, Maple Roofing can provide a free roof inspection and emergency roofing response, with a written assessment or quotation once the scope of work is clear.