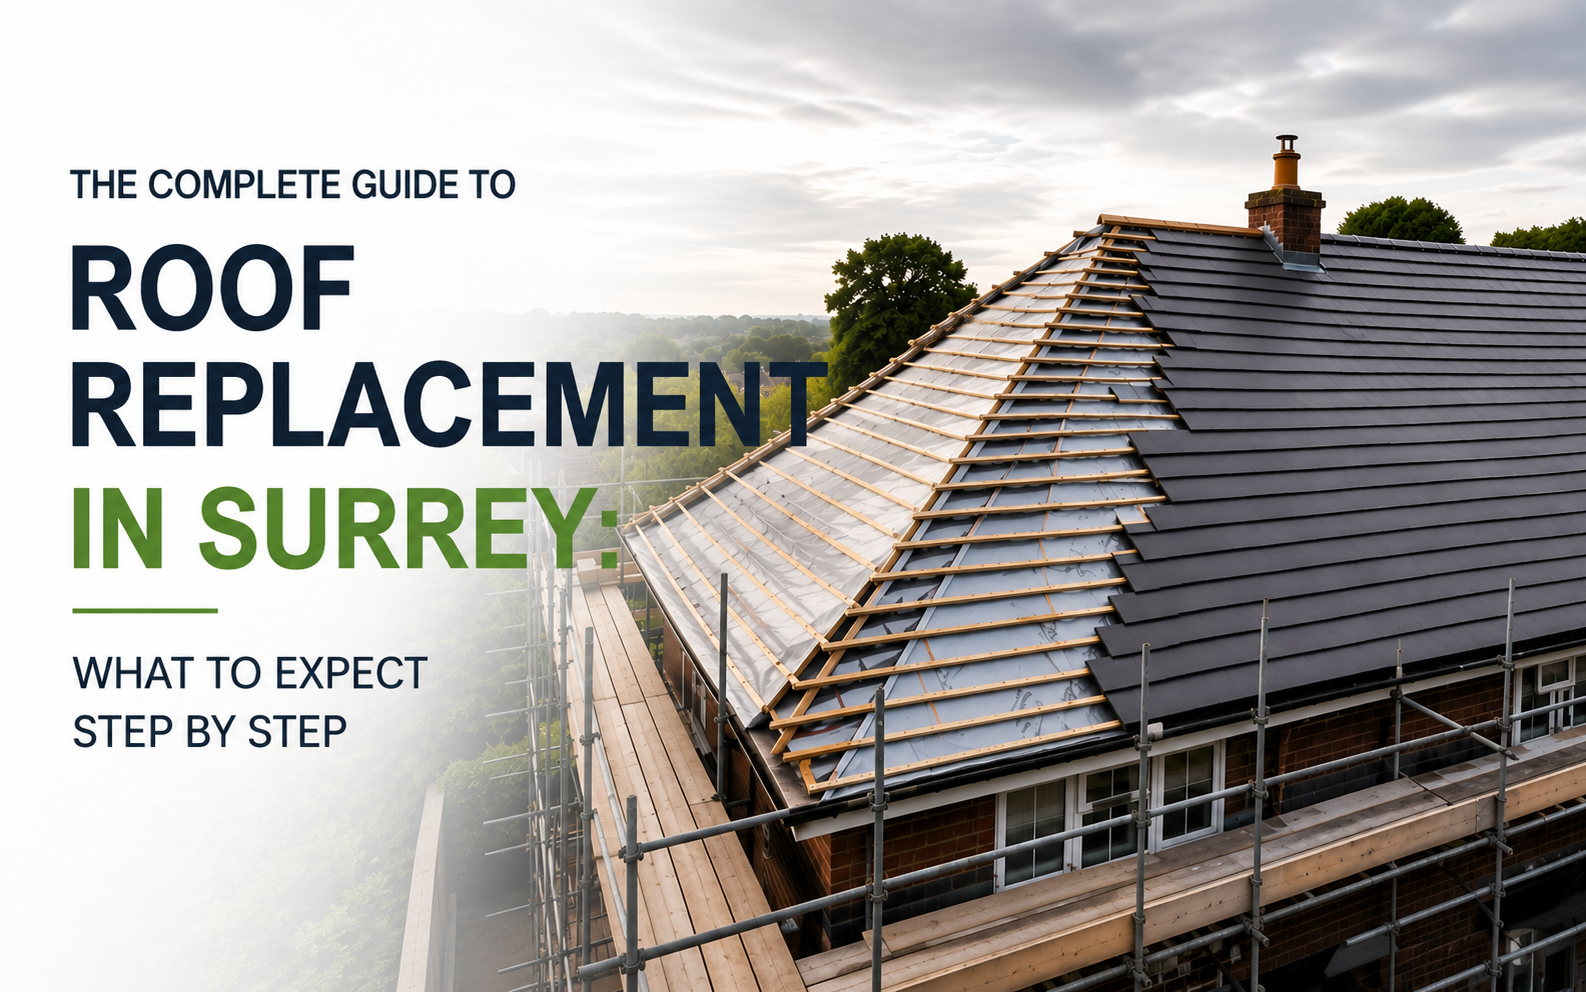
The Complete Guide to Roof Replacement in Surrey: What to Expect Step by Step
Step 2: Finding a Qualified Roofer in Surrey
The roofing industry in the UK is not as regulated as some other trades, which means the quality of contractors varies enormously. Finding a genuinely skilled, trustworthy roofer takes a little effort but is worth it.
What to Look For
NFRC Membership The National Federation of Roofing Contractors is the UK’s largest roofing trade body. Members are vetted for competence, insurance, and commitment to quality standards. An NFRC-registered roofer in Surrey gives you a meaningful baseline of quality assurance.
Competent Roofer Scheme This government-authorised scheme allows registered roofers to self-certify their work as compliant with Building Regulations without requiring a building notice. Using a Competent Roofer member saves you the cost of a separate local authority inspection.
Public Liability Insurance Ask for a copy of the certificate before work starts. A minimum of £2 million public liability cover is standard; many reputable firms carry £5 million or more.
Local Reputation Ask for references from recent jobs in Surrey. A contractor who has worked extensively in your area will understand the local property types, planning considerations, and material requirements.
Getting Quotes
Request a minimum of three written quotes. Each quote should clearly state:
• The scope of work (strip and relay, tile specification, timber repairs, flashing works)
• Whether scaffolding is included
• The specification of materials, including the tile type, felt underlayment grade, and batten size
• Payment terms and schedule
• VAT status
• Guarantee details for both workmanship and materials
Do not automatically choose the cheapest. A quote that is significantly lower than the others may indicate that the contractor is cutting corners on materials, not including VAT, or planning to use unqualified labour. For guidance on what a replacement roof should cost in this area, the new roof cost guide for Surrey provides a detailed price breakdown.
Step 3: The Survey and Specification
Before any reputable contractor submits a final quote, they should carry out a physical inspection of your roof as part of proper roof maintenance services. This typically involves:
External Inspection The roofer will examine the condition of tiles or slates, check the ridge, hips, and valleys, inspect flashings around chimneys and abutments, and assess the guttering and fascias.
Internal Inspection A check from inside the loft is essential. Your roofer should look for signs of felt failure, daylight coming through the roof covering, damp staining on the rafters and trusses, any evidence of timber decay, and the condition of the insulation.
Structural Assessment If there is any concern about the underlying timber structure, a more detailed assessment may be needed. This is particularly relevant for older Surrey properties, Victorian terraces, and period houses where original timber may have been in place for 80 to 100 years.
Based on this survey, the contractor will produce a specification that sets out exactly what work is required.
Step 4: Planning Permission and Building Regulations
Do You Need Planning Permission?
For most standard roof replacements in Surrey, planning permission is not required under permitted development rights. A like-for-like replacement using similar materials generally falls within Class B permitted development for dwellings.
However, planning permission is required if:
• Your property is in a conservation area and you are changing the materials or appearance of the roof
• Your property is a listed building (any works to a listed building require listed building consent)
• The replacement involves altering the shape or height of the roof
• Permitted development rights have been removed from your property by a condition on a previous planning application
If you are unsure, contact the planning department at your local authority before work starts. In Surrey, this typically means contacting the relevant district or borough council, such as Elmbridge, Guildford, Reigate and Banstead, or Kingston upon Thames.
Building Regulations
A straight roof replacement using equivalent materials does not normally require Building Regulations approval. However, if you are upgrading insulation, changing the structure, adding ventilation, or converting any part of the roof space, Building Regulations approval will be required. A Competent Roofer scheme member can self-certify compliant work, which simplifies this process.
Step 5: Preparing for the Work
Before the Contractor Arrives
Clear your loft. Dust, debris, and small pieces of broken tile will fall through the old felt once the tiles are stripped. Covering any stored items in your loft with old sheets or moving them out entirely will protect them.
Inform your neighbours. Scaffolding will likely occupy part of the pavement or driveway access. Giving your neighbours advance notice of the start date and expected duration is good practice and avoids unnecessary friction.
Check access for the skip. The old roofing materials will need to go somewhere. Confirm with your contractor that a skip has been arranged and that there is a suitable place for it on your property or the adjacent road.
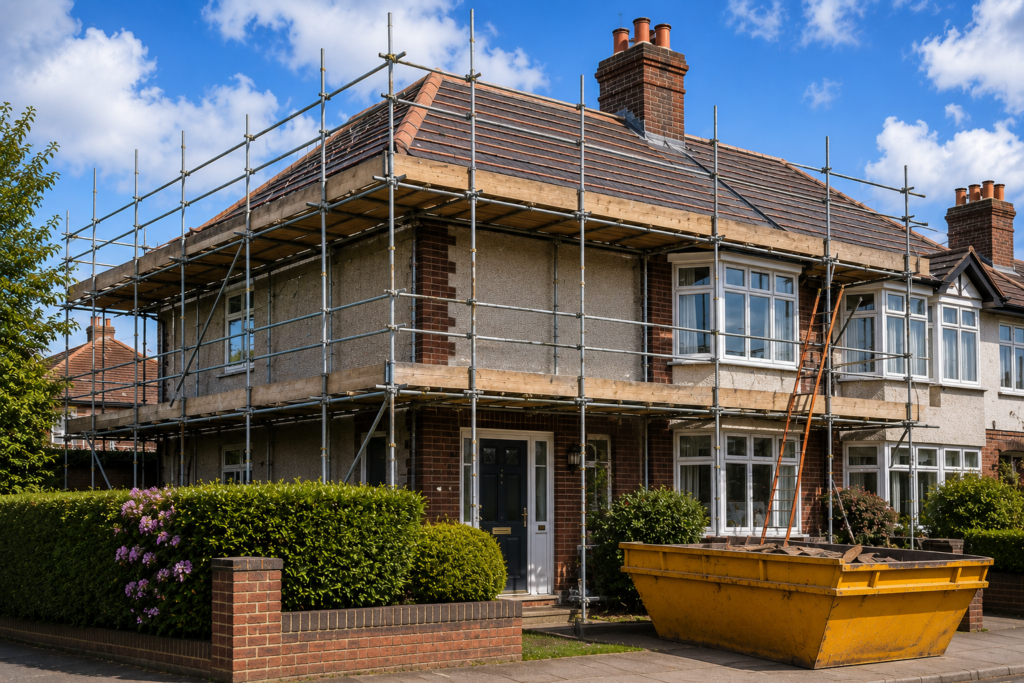
Scaffolding
Scaffolding will typically be erected one to two days before roofing work begins. On terrace properties in Surrey, scaffold towers may be used rather than full tube-and-fitting scaffold, depending on the property height and access constraints. The scaffold should be inspected by the contractor before workers climb it and should include appropriate edge protection.
Step 6: The Stripping Phase
On the first day of roofing work, the existing tiles or slates will be stripped from the roof. This is the noisiest and dustiest part of the process.
What happens during stripping:
• The old tiles or slates are removed and passed down to ground level or into a skip
• The old roofing felt and battens are stripped back to the bare rafters
• The timber structure is inspected for rot, insect damage, or structural weakness
• Any damaged or rotten timber is identified and marked for replacement
Depending on the size and complexity of the roof, stripping a standard semi-detached house typically takes one full day. During this phase, your roof will be temporarily exposed. Experienced contractors plan around the weather forecast and will use temporary tarpaulins if rain is expected before the new underlayment can be installed.
Step 7: Timber Repairs
Once the old covering is removed, the condition of the timber is fully visible for the first time. Your contractor should walk through any issues with you before proceeding.
Common timber repairs include:
Rafter repairs or replacement: Individual rafters that have cracked, sagged, or rotted are cut out and replaced with new timber to match the original size.
Purlin repairs: Purlins are the horizontal beams that support the rafters midspan. Decay in purlins is a serious structural concern and needs addressing before the new roof is installed.
Batten replacement: All battens should be replaced as part of a full reroof. Old battens are typically undersize by modern standards and may be nailed through the original felt, making them difficult to reuse effectively.
Ridge board repairs: The ridge board runs along the apex of the roof. A cracked or rotten ridge board needs replacing before the new ridge tiles are bedded.
Timber repairs add to the project cost, but attempting to ignore them will only result in problems with the new roof sooner than expected.
Step 8: Installing the New Underlayment
Once the timber is sound, the new underlayment is installed. In modern roofing practice, this is typically a breathable roofing membrane rather than the traditional bitumen felt. Breathable membranes allow moisture vapour from inside the property to pass out through the roof structure without condensing, which significantly reduces the risk of timber decay over time.
The underlayment is installed from the eaves upward, each row lapping over the one below to ensure any water that penetrates the tile covering is directed to the guttering rather than into the structure.
Step 9: Fitting New Battens
New treated timber battens are nailed through the underlayment into the rafters. The batten gauge (the spacing between battens) is calculated precisely to match the tiles or slates being used. Getting this right is critical: battens spaced incorrectly will result in tiles that do not lie flat, do not align at the ridge, or leave insufficient lap for weather resistance.
Modern battens are treated against rot and insect attack, which significantly extends their working life compared to the untreated timber found on many older roofs.
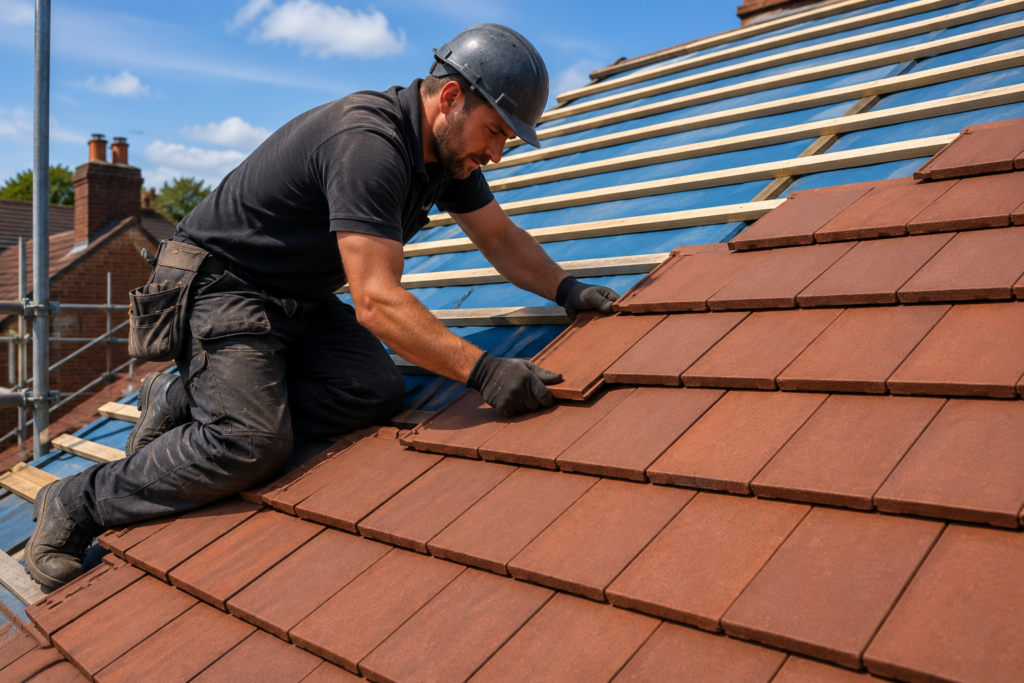
Step 10: Laying the Tiles or Slates
Tiling begins at the eaves and works upward toward the ridge. This is the most time-consuming part of the process and the stage where the skill of the roofer is most visible in the finished result.
Good tiling work is characterised by:
• Consistent coursing with no stepped or bowed rows
• Even margins on each tile, giving a regular, neat appearance
• Correct head and side laps to meet the manufacturer’s specification
• Tile cutting at verges, hips, and valleys that is clean and accurate
• Correct fixings used throughout (the number of nails or clips per tile is specified by the tile manufacturer and must be followed)
Valleys, where two roof slopes meet, are particularly important. These are the highest-stress areas on a pitched roof and the most common site for leaks if not constructed correctly. Open metal valleys, typically in lead or aluminium, or swept valley tiles are the standard approaches for Surrey properties.
Step 11: Ridge, Hip, and Verge Work
The Ridge
The ridge sits at the apex of the roof and protects the junction between the two main slopes. On most Surrey properties, the ridge is finished with concrete or clay ridge tiles bedded in mortar. Dry ridge systems, which use mechanical fixings rather than mortar, are increasingly common and offer better long-term performance because they eliminate the cracking and loosening that affects mortar-bedded ridges over time.
Hips
Hipped roofs, where all four sides slope down to the eaves, have hip tiles running up each external angle. These are bedded in mortar or fitted with a dry system, matching the approach used at the ridge.
Verges
The verge is the edge of the roof at the gable end. Traditional mortar verges are prone to cracking and allowing wind-driven rain behind the tiles. Dry verge units, which clip over the edge tiles and provide a mechanical seal, are the modern standard and offer significantly better weather performance.
Step 12: Leadwork and Flashings
Flashings are the metal components that seal the junctions between the roof and vertical surfaces such as chimney stacks, parapet walls, and dormer cheeks. Lead is the traditional and still-preferred material for chimney lead work in the UK. It is malleable, durable, and, when correctly installed, can last 50 to 100 years.
Flashings are one of the most common points of failure on an ageing roof. As part of a full reroof, all existing flashings should be stripped and replaced with new lead rather than simply patched. Patching old flashings during a roof replacement is a false economy. 
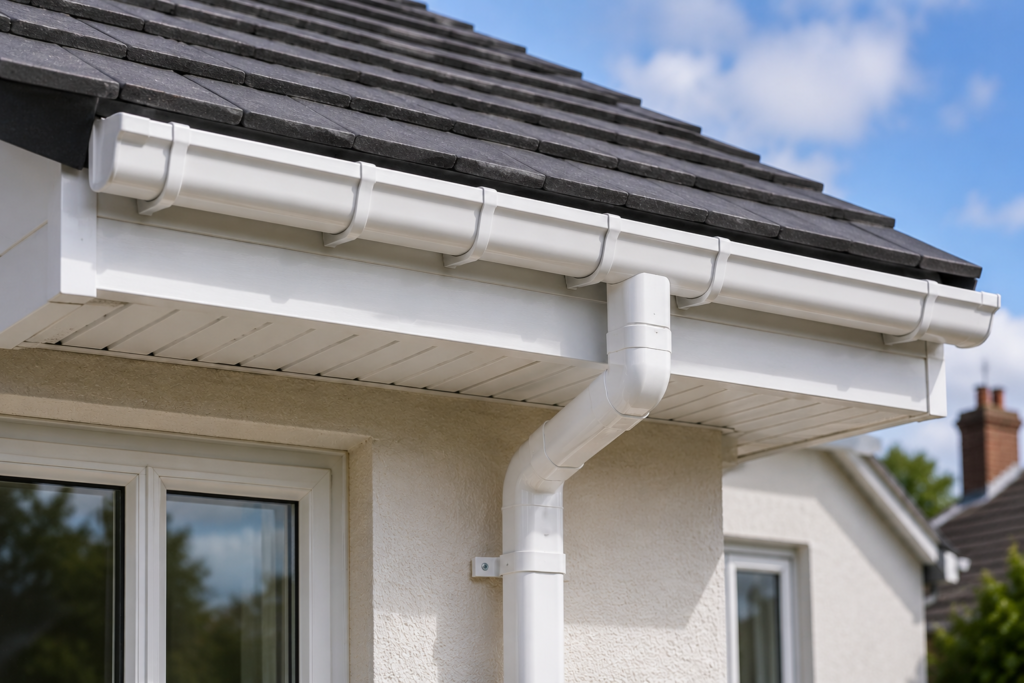
Step 13: Guttering and Fascias
A new roof is an excellent opportunity to inspect and replace guttering and fascias. Old cast iron guttering may be worth preserving on period properties, Old uPVC or aluminium systems may require guttering replacement if they are nearing the end of their lifespan.”
Sagging or cracked guttering that is not addressed will direct water behind the fascias and into the roof structure, undoing some of the benefit of the new roof. Many roofing contractors in Surrey offer fascia, soffit, and guttering replacement as part of a comprehensive roof package.
Step 14: Inspection and Sign-Off
Before the scaffolding comes down, your contractor should walk the roof with you (if it is safe to do so) or provide a photographic record of the completed work. This should include:
• Photos of the finished tiling from multiple angles
• Close-up photos of the ridge, hips, valleys, and all flashings
• Confirmation that all fixings comply with the tile manufacturer’s specification
• Details of the underlayment and batten specification used
If the work was carried out under the Competent Roofer scheme, the contractor will issue a Building Regulations compliance certificate. Keep this safe, as it will be required if you sell the property.
Step 15: Guarantee and Aftercare
A reputable roofer should issue a written workmanship guarantee. Look for a minimum of 10 years, with some established firms offering 20 years or more. Keep the guarantee document with your property records.
In addition to the workmanship guarantee, the tile or slate manufacturer will typically provide their own product guarantee, often 30 years or longer. Ask your contractor to provide the product guarantee paperwork at the end of the project.
Looking After Your New Roof
A new roof requires relatively little maintenance if correctly installed, but a few simple steps will extend its life:
• Clear leaves and debris from valleys and gutters twice a year, typically in late autumn and spring
• Check the condition of the ridge and hip mortar every few years; dry ridge systems require less inspection
• Have the roof professionally inspected every five to ten years, or after any significant weather event such as a severe storm
• Address any cracked or slipped tiles promptly rather than leaving them to cause water ingress
Timeline Summary
Stage | Typical Duration |
|---|---|
Survey and quotes | 1 to 2 weeks |
Scaffolding erection | Half a day to 1 day |
Stripping | 1 day |
Timber repairs | 0 to 2 days (depends on condition) |
Underlayment and battens | 1 day |
Tiling | 2 to 5 days (depends on roof size) |
Ridge, hips, verges, flashings | 1 to 2 days |
Final inspection and clean-up | Half a day |
Scaffolding removal | Half a day |
For a typical semi-detached house in Surrey, you should plan for a total of seven to fourteen working days from scaffolding going up to scaffolding coming down.
Frequently Asked Questions
- Do I need to move out during a roof replacement?
No. In the vast majority of cases, a roof replacement in Surrey can be completed while you remain in the property. The main disruption is noise during stripping and tiling, plus occasional dust in the loft. The only exception would be if significant structural repairs are required that make part of the house unsafe. - Will my home insurance cover roof replacement?
Standard home insurance policies cover sudden and unforeseen damage, such as storm damage, but they do not cover wear and tear or gradual deterioration. If your roof needs replacing because it has aged beyond its serviceable life, this is unlikely to be covered. Check your policy wording carefully and speak to your insurer before making any assumptions. - How do I know if a quote is reasonable
The most reliable way is to get at least three written quotes from reputable contractors and compare them on a like-for-like basis. Check that each quote specifies the same tile type, underlayment grade, batten size, and scope of work. A significant price difference usually means one contractor is using cheaper materials or has not included all the required work. The new roof cost guide for Surrey gives a clear picture of what reasonable costs look like in this area. - Can I have a Velux or roof window installed as part of a reroof?
Yes. A full reroof is an ideal time to add a roof window, as the tiles are already being stripped and the timber structure is fully accessible. This avoids the disruption and additional cost of a separate installation at a later stage. - What happens if it rains during the work?
Experienced roofing contractors monitor the weather forecast closely and plan the stripping phase around it. If unexpected rain occurs while the roof is stripped, temporary tarpaulins are used to protect the structure. Your contractor should brief you on their contingency plan for wet weather before work starts.